We all know we have to replace headlight and taillight bulbs. After all, no one wants to fail a state inspection, or worse, get pulled over. But other bulbs in your vehicle are just as important. Marker lights let others know where you are on the road when it's dark out, and courtesy lamps and map lights give you some light inside your vehicle cabin when there's not enough light to see without them. All of these bulbs will burn out in time, but don't worry! We're here to help you save a buck by replacing these bulbs yourself. Also consider replacing these types of bulbs with LEDs, which are a great long-lasting option. Here are the basics on how to change the bulbs in a variety of courtesy, dome, map, and marker lights.

All photos by Mike Aguilar
This is a good project for new DIYers
Never handle a new bulb or lamp with bare hands. The oils and acids on your skin can cause it to burn out prematurely, so use gloves.

These will usually have a plastic cover that pops off to reveal the bulb. Courtesy lamps have several different types of bulbs (tube, canister, and blade), but they all either push into clips or push in and twist. On some cars, the lamp cover is secured with two Phillips screws that need to be removed. This is especially true on courtesy lamps in rear seating areas. Be careful handling the lenses, clips, and connectors for these parts, as they can be fragile.

There are a number of vehicles equipped with overhead consoles in which a significant portion of the console will have to come out to change the bulbs. Others, like this one above, just pop out.

This type of bulb will usually be semi-exposed, often with a hood over it that often simply snaps off to give cleaner access to the bulb. The bulbs on older vehicles will push in and twist to lock and unlock, while those on newer vehicles will push in and pull out. Both are usually keyed so they can only go in one way.

Marker lights are usually either red or orange/amber and light up when the parking lights are lit. The bulbs are “plugged" into pigtails that push in and twist to lock and unlock in the marker lamp assembly. The bulbs themselves are removed either by pushing and twisting or pulling straight out, depending on the year of the vehicle.

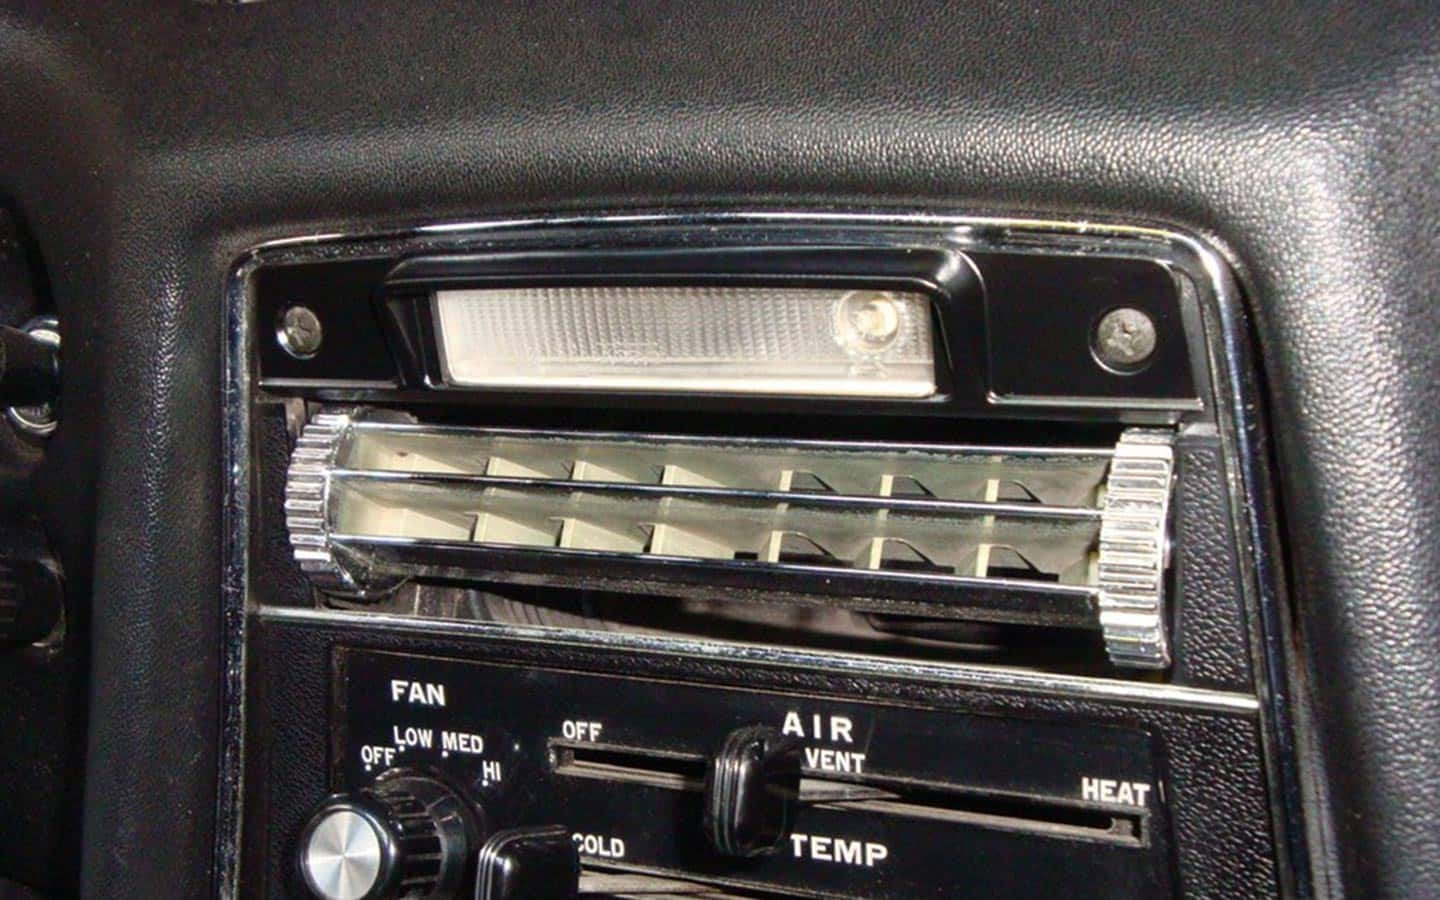
These bulbs are usually mounted in overhangs in the dash panel or center console, facing down. Access to the bulb usually requires nothing more than popping the housing out of a spring clip with a small screwdriver. Many older cars, however, like the Datsun Z pictured, have map light bezels that are secured with screws. The bulb can either be a tube type that plugs in and out with electrodes at each end (not unlike an old-fashioned glass fuse), a blade type that plugs in with electrodes at the bottom, or a canister type with keying lugs on the side that lock the bulb into the pigtail.

Getting to the third brake light can range from quite easy to somewhat difficult. In trucks and vans, the bulb is accessed by removing the light's cover with a screwdriver. In hatchbacks you'll have to drop the interior panels from either the top or bottom of the hatch. Third-eye brake-light covers in the rear window are usually secured with two screws, although there are some vehicles where snap clips are used to secure this cover. Bulbs in older vehicles will be the keyed canister type while those in newer vehicles will be the blade type.
Vehicles with trunks will have the brake light either in the trunk lip or the top or bottom or the rear window. Changing a blown-out bulb in third-eye brake lights in the trunk lip will often require removing the plastic cover on the outside of the trunk with a screwdriver. But there are also cars that give access to this bulb from inside the trunk lid.

Shop Advance Auto Parts for the bulbs you need.


