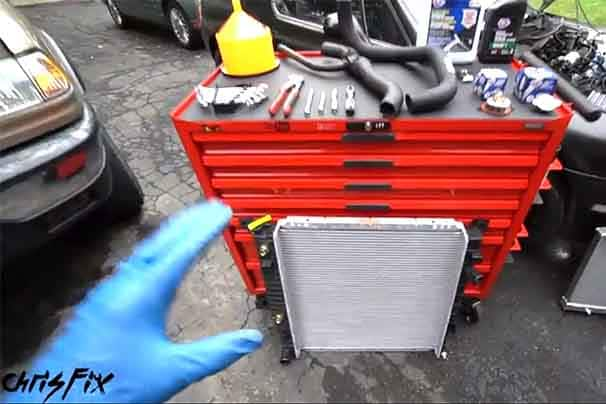
Protect your engine from the elements with a radiator flush
If you're driving a vehicle with an internal combustion engine, then periodically you'll need to flush the radiator and replace the coolant, which is also called antifreeze. Adding fresh radiator coolant with the proper 50/50 mix of coolant and distilled water protects your radiator from overheating in summer and freezing in winter. Fortunately, flushing your vehicle's radiator and changing the coolant is a snap. You can also use the coolant tester to determine the specific gravity of the coolant you already have and determine whether it's time for a flush and refill.
This is a good project for new DIYers
-
Open the radiator fill cap, usually on top of the radiator. If your vehicle has a plastic tank or reservoir for coolant, open that cap too.

-
Consult the vehicle owner’s manual for the location of the radiator petcock, or drain, and position the container on the ground under that drain, so it’s ready to capture the escaping antifreeze.

-
Open the drain, and allow all the coolant to drain into the container until it stops flowing out. Then close the radiator petcock or drain.
-
Pour the radiator flush product into the radiator. Fill the radiator with water from your garden hose until it’s about one inch below the radiator neck. Follow the product directions.

-
Close the radiator and reservoir caps.

-
Run the engine for about 10 minutes with the heater on high after it reaches operating temperature. Then allow the engine and radiator to cool down completely, so that they’re cool to the touch.
-
After draining the radiator, close the petcock or drain. Refill the system with water and replace the caps. Run the engine again with the heater on high for 10 minutes once the engine has reached operating temperature. Allow the engine to cool again.
-
Remove the caps and repeat step 3.
-
Secure the used coolant in a closed container and take to your closest recycling center. There's likely to be quite a lot of used coolant and diluted coolant before you're done.
-
Refill the radiator with pre-diluted coolant, ensuring it’s the type specified by your vehicle's manufacturer. (Use distilled water if you are diluting full strength coolant yourself. Aim for a 50/50 mixture for most climates.)
-
Run the engine until the cooling system stops bubbling and the coolant level starts to rise, then put the radiator cap back on the system. If your vehicle is equipped with a coolant bleeder screw, use this instead of the radiator cap method.
-
Recheck the coolant level in the radiator and on the plastic tank where there should be a “full level” indicator. Add more coolant if needed.
-
Close and tighten the radiator cap and reservoir cap. It's also a great idea to check the coolant level a day or two later.

-
For peace of mind, use an antifreeze tester to determine the lowest outside temperature to which your vehicle’s coolant is protected from freezing.
Prep: With the vehicle parked on a level surface, ensure the engine and radiator are cool to the touch. Antifreeze is toxic, so keep pets and kids from entering the work area. Also, have a container (to hold at least 4 gallons) ready to catch the used antifreeze, and wipe up any spills.
Prevent burns by never opening a warm to the touch cooling system.
While your radiator is drained, take the opportunity to inspect the upper and lower radiator hoses. Replace the hoses if they're cracked, brittle, bulging, leaking or old.
Using pre-diluted coolant, as opposed to concentrated or full-strength, is an easy, no-fuss way to ensure your radiator has the proper 50/50 mixture of coolant and water.
Just to be on the safe side, you may want to replace the radiator cap. They're cheap and they're a key part of the cooling system; a leaky radiator cap can be enough to cause all kinds of problems.


