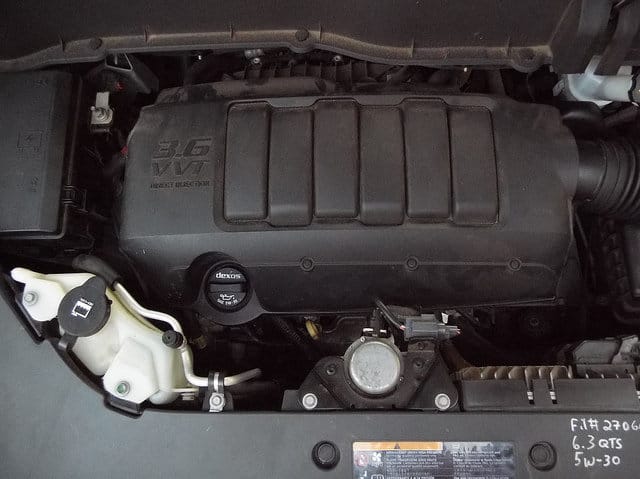
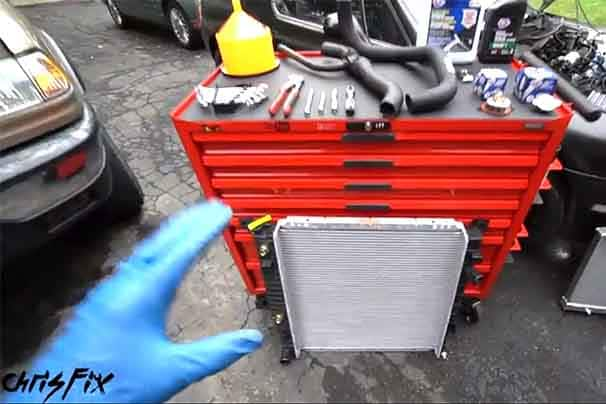
Is your engine running hot and burning more fuel? If you have a P011X code, it's time to replace the coolant temperature sensor. It's a straightforward procedure, so follow along and we'll show you how to swap it out.

All photos by Andy Jensen
How the coolant temperature sensor works
The name is appropriate, as this is a sensor that measures the temperature of a vehicle's engine coolant. It is designed to help the engine run at the maximum efficiency, scoring the right mix of horsepower, emissions, and gas mileage. Some vehicles have both a coolant temperature sensor and a temperature sending unit, which works similarly to a sensor but gives the reading to the gauge on the dash instead of to a computer. (If the vehicle only has one sensor, it's a coolant temp sensor and provides the readings to both the gauge and computer.)
As the engine warms up and the coolant gets hot, the electrical resistance of the sensor drops. The ECU can “see" the change in the circuit, and then adjust the timing and the amount of fuel the engine receives for optimal performance when the engine is cold or warm. On some modern vehicles, the ECU also uses this signal to adjust the reading on the temperature gauge.
That resistance drop with the temperature change gives you a method of testing the coolant temp sensor to verify that yours is failing. On a cold engine, grab a multimeterand connect it to the terminals on the back of the sensor where the electrical connector plugs in (see step-by-step below). Using the ohm setting, measure the resistance. Then reconnect the sensor and start the engine, letting it run only long enough to reach operating temp. Turn off the engine, carefully remove the power connection, and test the terminal again, noting the resistance. It should have decreased dramatically with the increase in temperature. If there is little change in resistance, the sensor has failed.
Symptoms of failure
When a coolant temp sensor starts to fail, the first symptom you might notice is poor fuel economy. Just as with an oxygen sensor, the signal from this sensor is critical to get the fuel mixture just right for maximum gas mileage. Once that signal is lost or out of normal range, the engine runs in safe mode, which throws away too much fuel but keeps the engine running in a way that prevents damage to the expensive internal components. If you are getting poor gas mileage and suspect your coolant temperature sensor is to blame, here are the other most common symptoms:
- The engine quickly starts to overheat.
- The "check engine" light is on.
- There's black smoke out of the exhaust tips.
- Running excessively rich causes increased emissions and poor engine operation, resulting in poor idle and engine vibration when the engine is cold.
This is a good project for new DIYers
-
With the engine and coolant entirely cooled down, disconnect the battery. This is recommended for any electrical procedure.
-
Remove any plastic engine covers. Depending on the engine, you may have to remove part of the plastic air intake tubing.

-
Locate the coolant temp sensor. It is usually near the thermostat housing but can be placed near any engine cooling passage. A shop manual will show you exactly where, but if you don't have one, look for a radiator hose with a nearby electrical connector.

-
Partially drain the cooling system, or perform a coolant flush, if it is due. This step prevents coolant from spilling uncontrolled all over your engine in the next two steps.
-
Disconnect the electrical connector from the sensor by pushing on the tab and pulling the connector.
-
Using a wrench, unscrew the coolant temperature sensor from the coolant passage. A ratcheting wrench can be a big time saver in tight spaces.
-
Insert the new sensor. Torque to spec listed in your repair manual, usually under 20 lb-ft.
-
Connect the electrical plug, ensuring it fully snaps on.
-
Replace the engine covers and air intake. Refill the cooling system.
-
Reconnect the battery, start the engine and make sure the "check engine" light is out. If you did a coolant flush, you'll need to bleed the system.
-
Take a test drive while monitoring the temperature gauge to verify a completed repair. We recommend rechecking the coolant level after a few days of driving.
Plastic becomes brittle with age, and it's easy to snap the tab off of the electrical connector. Be gentle when you press it, or use a small pick to carefully pry up the end of it.


