
Source | Mike Aguilar
There are many reasons for car antenna replacement. The mast may have broken, the motor may have stopped working, or the drive system doesn't work. Each of these can be fixed by replacing the whole antenna assembly, but you can save money by replacing the mast if it breaks or the drive system fails. We're going to walk you through replacing both mast and the antenna assembly, which will also serve to convert from a fixed or manual antenna to an electric one.
This is a good project for new DIYers
-
Remove the mast/trim retaining nut by turning it counter-clockwise with a small, flat screwdriver or a pair of long, thin needle nose pliers. Remove the nut and trim piece.

Source | Mike Aguilar
-
Firmly pull up on the antenna mast and remove it and the nylon drive cable from the antenna drive assembly. Pay attention to the direction of the teeth on the nylon cable as it comes out.
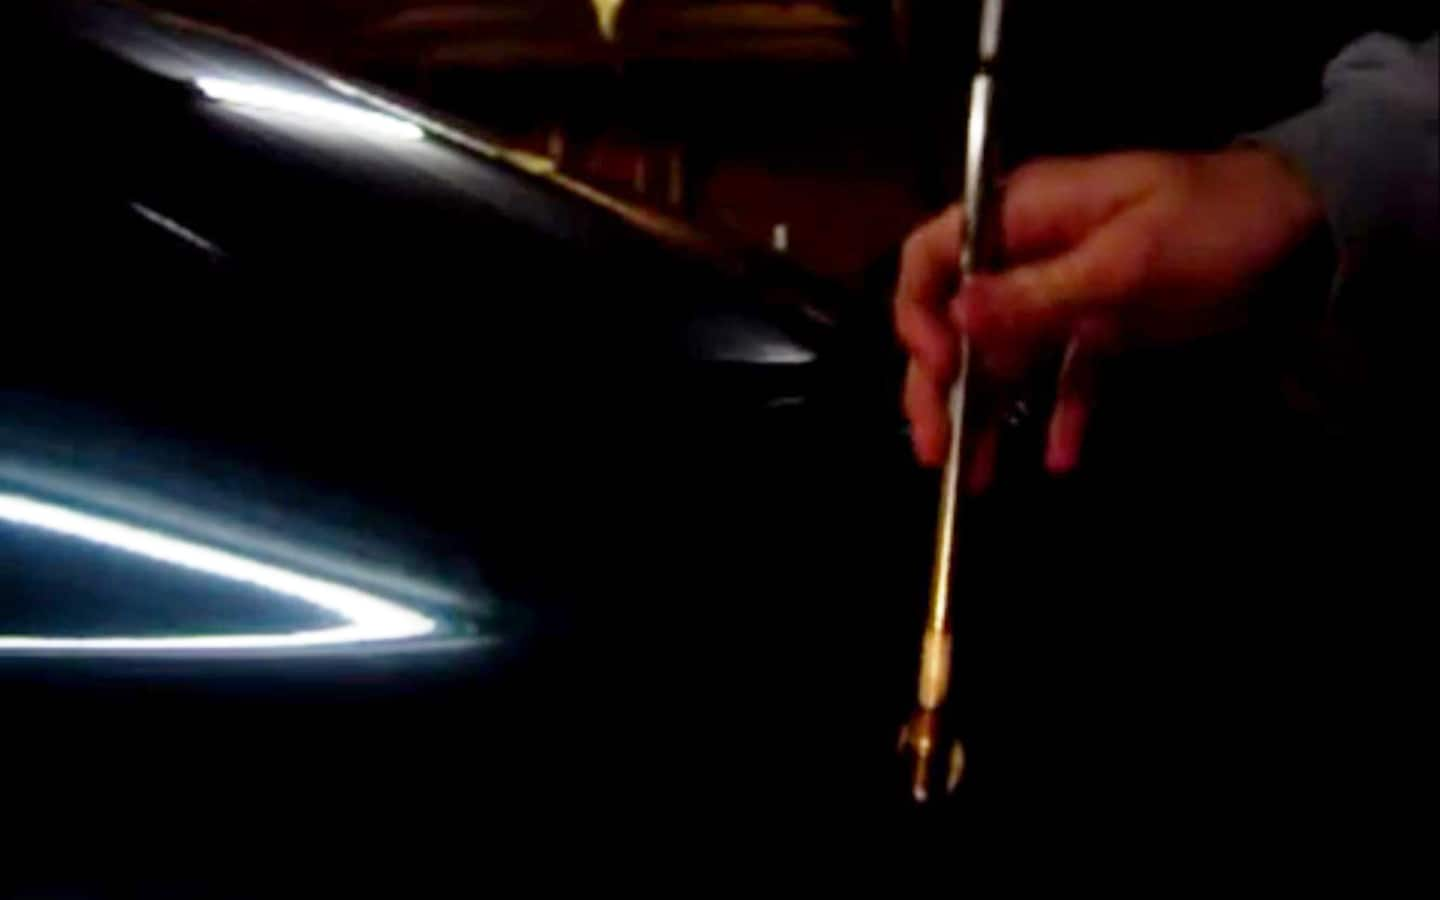
Source | Mike Aguilar
-
Insert the nylon cable on the new antenna mast into the antenna drive assembly in the car until it won't go any further. Grab a helper, and get ready.
-
Have your helper turn off the radio or ignition. The antenna motor will retract the mast assembly. Feed in the cable and mast until the motor stops. Don't worry if the antenna doesn't completely retract or you hear bumps/knocks.
-
Reinstall the trim and retaining nut.
-
Turn the radio on and off four times to adjust the antenna.

Source | Mike Aguilar
-
Remove the trim panels to access the antenna assembly. The trim in trunk or rear area of a number of older cars is held in with screws while most newer vehicles will use clips of some sort. Removing these screws or clips allows you to remove the plastic or carpet covering the antenna. Be careful with these connectors, as the plastic can degrade and become brittle with age. Some could also contain fiberglass. If this is the case, long sleeves and gloves offer good protection.

Source | Mike Aguilar
-
Gain access to the antenna motor assembly. For example, once the carpet was removed from the wall, the jack mounting bracket had to be removed from this Nissan Maxima before we could get to the antenna unit.

Source | Mike Aguilar
-
Remove the antenna drive assembly. In some vehicles, removing the antenna drive assembly is a matter of sharply pulling downward and carefully removing the assembly. This Nissan Maxima has two bolts that hold the drive assembly in. Remember, the wiring is still attached to the motor assembly.

Source | Mike Aguilar
-
Disconnect the wiring from the antenna motor assembly. The Maxima shown has separate power and radio signal connectors. There are some car makers that combine these in a single connector. The “old school" round cable connector can be rotated and pulled apart. Square power connectors will have a lock tab to depress or lift before the connector can be removed.
-
Attach the vehicle wiring to the new antenna motor.

Source | Mike Aguilar
-
Reinstall the new antenna motor assembly in the vehicle. Reinstall any nuts and/or bolts that were removed.
-
Reinstall anything that was removed to gain access to the antenna such as brackets, carpet, or plastic trim.
-
Reinstall the exterior trim and retaining nut.
-
Turn the radio on and off several times to set the antenna limits.
-
Remove or loosen the inner fender plastic to expose the antenna motor assembly. This runs above the tire and behind the fender panel. This trim piece is attached to older cars with screws and newer car with push-lock pins, like on this Toyota.
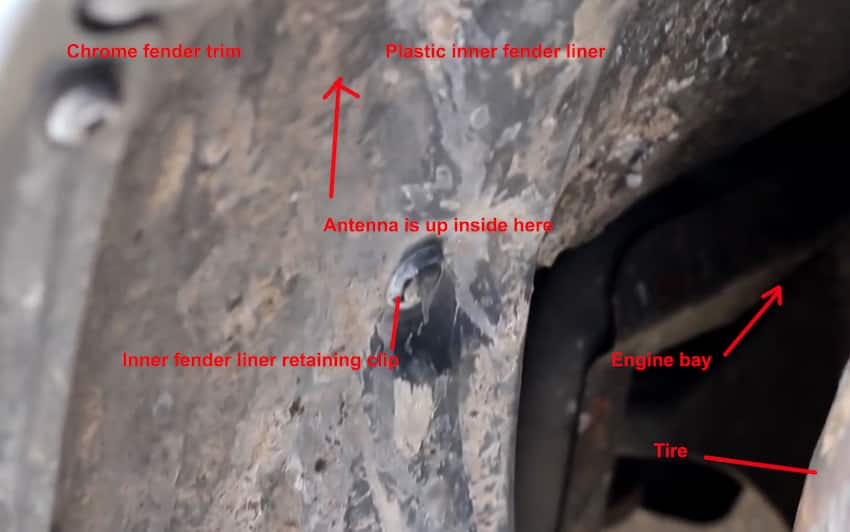
Source | Mike Aguilar
-
Use a pair of long and thin nose pliers or a small, flat screwdriver to rotate the retaining nut on top of the fender clockwise and remove it. Remove the plastic/chrome trim piece.
-
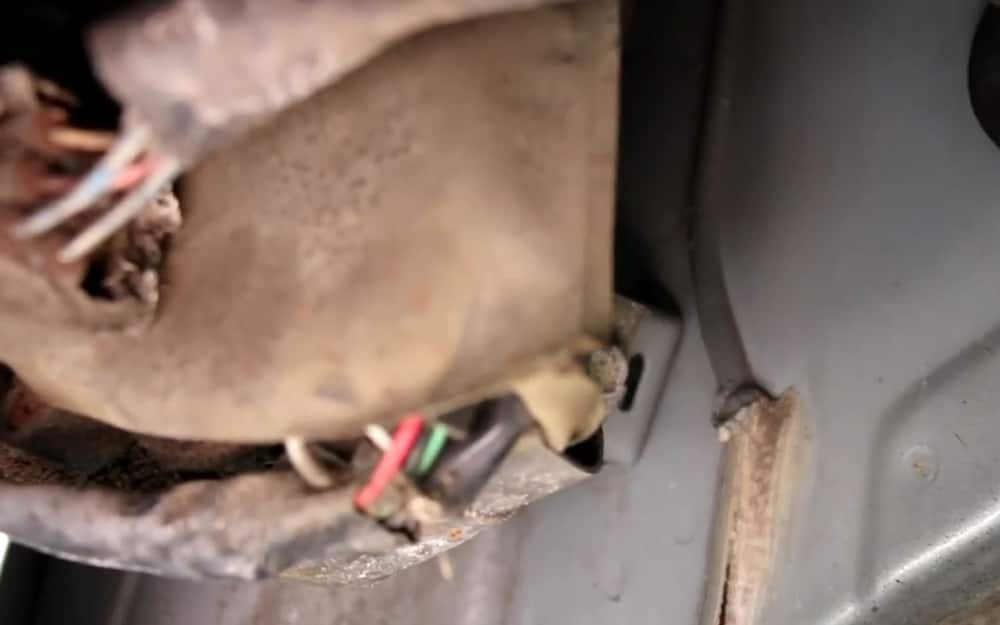
Remove the antenna motor assembly. Just as with rear-mounted power antennas, front-mounted antennas can be secured in the car simply with the retaining nut removed above or with a bracket from the bottom. The bolt on this Toyota is a little difficult to find.
-
Disconnect the vehicle/radio wiring. Again, this could simply be a square connector with power and radio wiring, or it can be a round antenna cable with a three-wire connector for power and ground. Round antenna connectors can be disconnected by pulling while rotating; power and ground connectors will have locking tabs that need to be pulled up or depressed, depending on manufacturer and model.

Source | Mike Aguilar
-
Connect the new antenna motor drive.
-
Reinstall the antenna motor assembly. Make sure the top of the antenna pokes out of the hole in the fender.
-
Reinstall any nuts or bolts that attach the motor assembly to brackets.
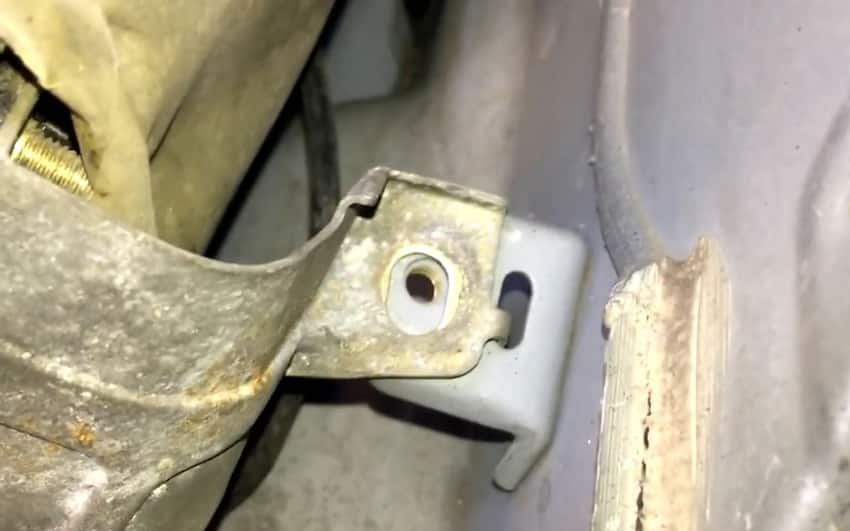
Source | Mike Aguilar
-
Reinstall the upper trim and retaining nut, and tighten with the long nose pliers. We had several trim pieces to choose from with this universal power antenna kit on this third-gen Firebird. The retaining nut from the original solid antenna can also be seen here.

-
Replace the inner fender plastic.
-
Cycle the radio three or four times to adjust the antenna.
-
With the motor assembly out, remove the screws holding the housing together. Be careful; one or two of the nuts may want to disappear.
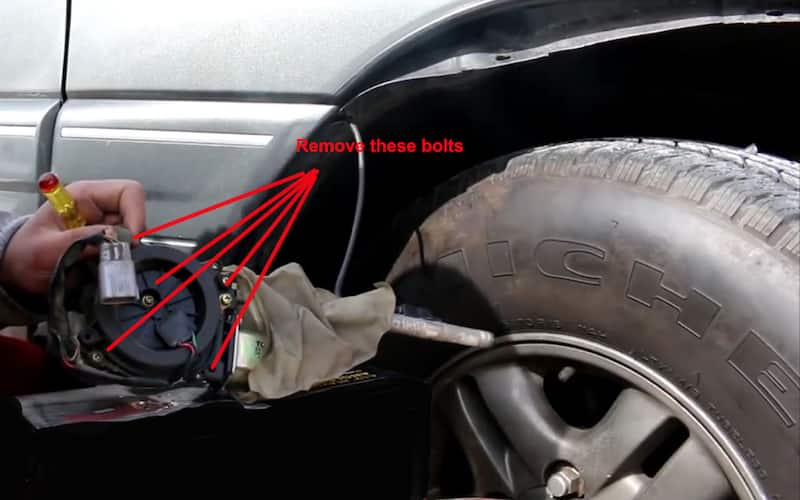
Source | Mike Aguilar
-
Pull the housing apart. There will be between five and seven bolts/screws to remove. Be careful to not lose the nuts.
-
Remove the broken cable.
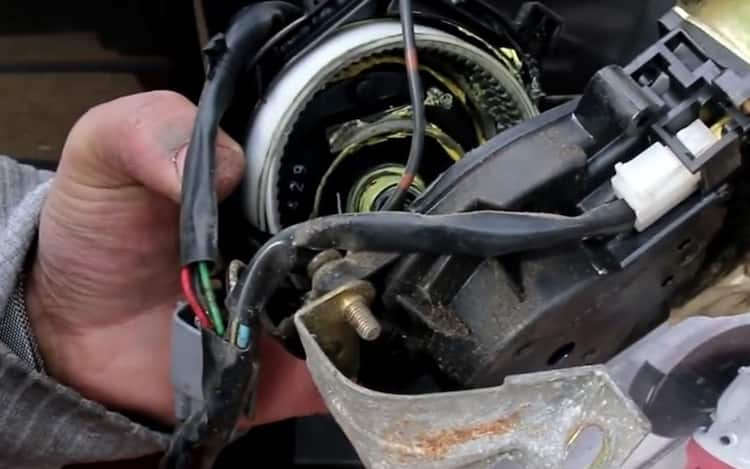
Source | Mike Aguilar
-
Reassemble the motor housing. Make sure to reconnect the ground strap.
-
Reinstall the motor assembly and follow the antenna mast reinsertion procedure above.
You can save a significant amount of money if you can hear the antenna motor running when the car's radio is turned on and off but the mast doesn't go up and down, or if the mast is broken or bent but the motor runs.
Maybe you're not hearing the motor activate when you turn the radio on and off, or maybe you've determined that there's still drive cable inside the drive assembly, but you need to remove the whole shebang and it's located in the rear fender area, like on a Nissan Maxima. The following steps are additional after removing the antenna retaining nut and trim.
Some manufacturers put their antenna motors in water-repellent socks that are taped to the antenna shaft. Don't forget to replace and re-tape this sock if present.


