A sagging, ripped, or stained fabric headliner detracts from a vehicle's appearance and value, and can be a safety concern if it obstructs the driver's side or rear vision. As a vehicle ages, heat takes a toll on the adhesive securing the fabric to the headliner board, allowing it to sag in spots. Fortunately, removing and replacing a vehicle's headliner and the board it's attached to are relatively easy jobs that require just some time and basic tools. Follow the steps below to remove a vehicle's headliner for repair or replacement.
This is a project that needs some know-how
-
Take an inventory of all the accessories that are attached to the vehicle's ceiling and helping hold the headliner fabric and board in place. Depending on the specific vehicle, these will probably include sun visors, grab handles, clothes hooks, interior lights, speakers, sunglass holders, and upper seat belt covers.
-
Use the appropriate-sized Allen or hex wrench or screwdriver to unscrew the bolts securing the accessory to the ceiling. You may need to gently pry off a small plastic cover first that's concealing the bolt head. Repeat this process for all the accessories.
-
Remove any plastic trim panels running along the front, rear and sides of the vehicle's ceiling that are helping hold the headliner in place. These trim panels may be secured with plastic clips that pop out when gently pried. In some cases, it may not be necessary to completely remove the trim panel if it can be pried apart just enough to allow the headliner to be freed.
-
Look for a seam or an opening along the edge of the vehicle where the headliner board meets the edge of the vehicle.
-
Starting on one side or in one corner of the vehicle, grasp the board and gently pull down on it, being careful not to bend the board. Continue working down one side of the vehicle to loosen the board.
-
Once the board is completely free, remove it from the vehicle either through the vehicle's hatchback or through a side door.
-
The headliner board can now be evaluated for fabric repair or replacement.

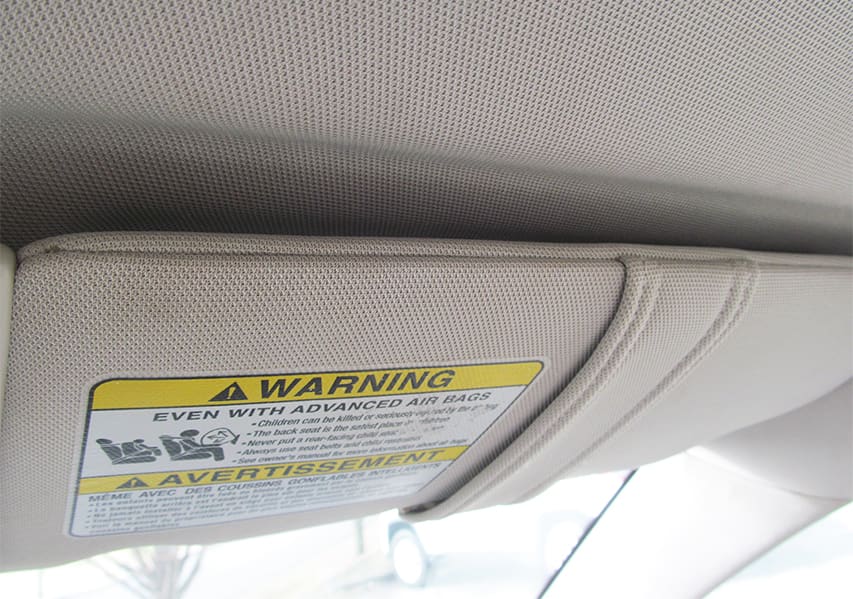
Sun visors are among the accessories that will need to be removed. | Rich Ellis

Overhead storage compartments like this one usually need to be removed as well. | Rich Ellis

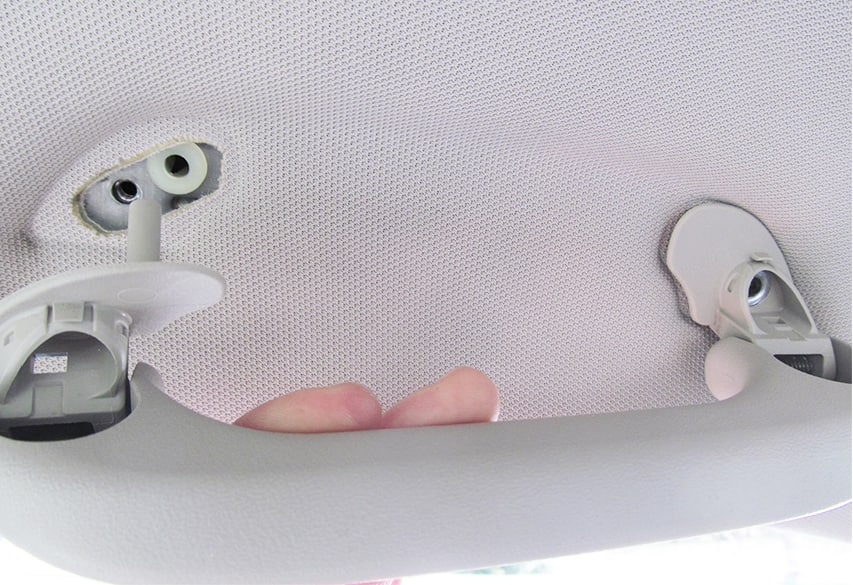
Fasteners are usually hidden on overhead accessories. | Rich Ellis

Once the cover pieces have been pried off, the fasteners will be visible. | Rich Ellis
Use a specialized trim removal tool or kit to make it easier to remove plastic trim panels holding the headliner in place without damaging the trim.
Consider having a helper present on this job to help you maneuver the headliner out of the vehicle without damaging it.
If you're replacing the headliner, you can just reverse these steps once you've found a suitable replacement or have made your repairs. This is a relatively simple job that can really refresh the look of your car.
Have you refreshed a vehicle's headliner before? Let us know how it went in the comments.


