Source | Mike Aguilar
Drum brakes need to be adjusted from time to time to make sure they function properly throughout their lifespan. Improperly adjusted brakes can either accelerate shoe and drum wear or cause the pedal to go to the floor before the brakes engage. In extreme cases it can cause the rear wheel(s) to lock up.
Some vehicle with four-wheel disc brakes still use a drum brake inside the rear rotors that acts as the parking brake. These drum brake systems need adjustment, too, and in fact a parking brake that is too far out of adjustment can fail a state vehicle inspection.
Adjusting drum brakes correctly can be an art. Making the adjustments is pretty easy. But getting the adjustment just right so that there isn't too much friction between the shoes with the brakes not applied and equalizing the side-to-side adjustments can be difficult for beginners. The good news is that brake drums are forgiving, and there's play built into the system.
In a perfect world, drum brakes would self-adjust the way disc brakes do. In disc brakes, the caliper piston extends more and more as the pads wear. Wheel cylinders, however, can't do this because the cups would fall out before the shoes wore out.
A modicum of self-adjustment has been built into drum brake systems, but the catch is that this self-adjuster only works when the car is being driven in reverse on some vehicles and only when the parking brake is engaged in others. As the car is moving in reverse and you step on the brakes, the shoes expand. The rotation of the wheels exerts rotational force on the shoes, which pulls on the adjuster cable and arm.

Source | Mike Aguilar
The movement of the adjuster cable and arm is what adjusts the brakes. Forward motion of the wheels (and drums) doesn't exert force in the proper direction for adjustment to occur; neither does regular use of the brakes as with disc brakes. Since you spend more time driving forward than backward, the shoes will eventually need outside effort to maintain proper adjustment.
This is a good project for new DIYers
-
Park on a flat and level surface, not your driveway. Chock the front wheels.
-
Raise the rear of the vehicle and support it with jack stands. We recommend removing the wheels. Even though removing the wheels is not required for every vehicle, doing so will give you a more open work space.
-
Locate the oblong access hole that's covered by a rubber plug. This plug will be at the bottom of the backing plate on many vehicles. Some GM products, however, will have it above the axle, and some imports/front-drive vehicles will place it on the brake drum itself. Remove the plug and place it in a safe spot—it keeps dirt and moisture out of the brakes. With a flashlight, look inside the access hole for the adjuster "star" wheel.

Source | Mike Aguilar
-
Slide the brake spoon into the opening and engage the notches on the adjuster wheel. Lever the spoon up and down to adjust the brakes by spreading the adjuster. The star wheel will only turn in one direction because of the notches. If you have to loosen the brakes, you will need to insert a screwdriver to push the adjuster arm off of the star wheel, and then turn the spoon in the opposite direction.

Source | Mike Aguilar
-
Spin the wheel by hand as you operate the adjuster. You will hear the shoes scraping on the drum—this is normal. Give the tire a hard spin every few clicks. Adjust the brakes until the wheel makes about one revolution before stopping. Adjusting the shoes too far out will lock the drum. You'll have to remove the drum or use two tools to back the adjustment out, outlined in Step 4.
-
Repeat this process on the other side.
-
Take the vehicle for a test drive and firmly apply the brake from about 15-20 mph to seat the shoes.
-
Drive normally. As you drive, take note of how far the pedal travels as you apply the brakes. If the pedal has to go to the floor before the brakes apply, readjust the brakes and tighten them until the pedal stops halfway to the floor. Don't forget to make sure the parking brake is effective. Most manufacturers recommend an average of five to six clicks for a fully engaged parking brake.

Pro Tip Although you don't have to remove the drums to adjust drum brakes, it's a good idea to check the wear of the shoes before adjusting them if it's been more than about 30,000 miles since they were last checked. It's also a good idea to “mic" the drum: Check its diameter with an inside micrometer. An electronic micrometer will give you more precision in your measurements.

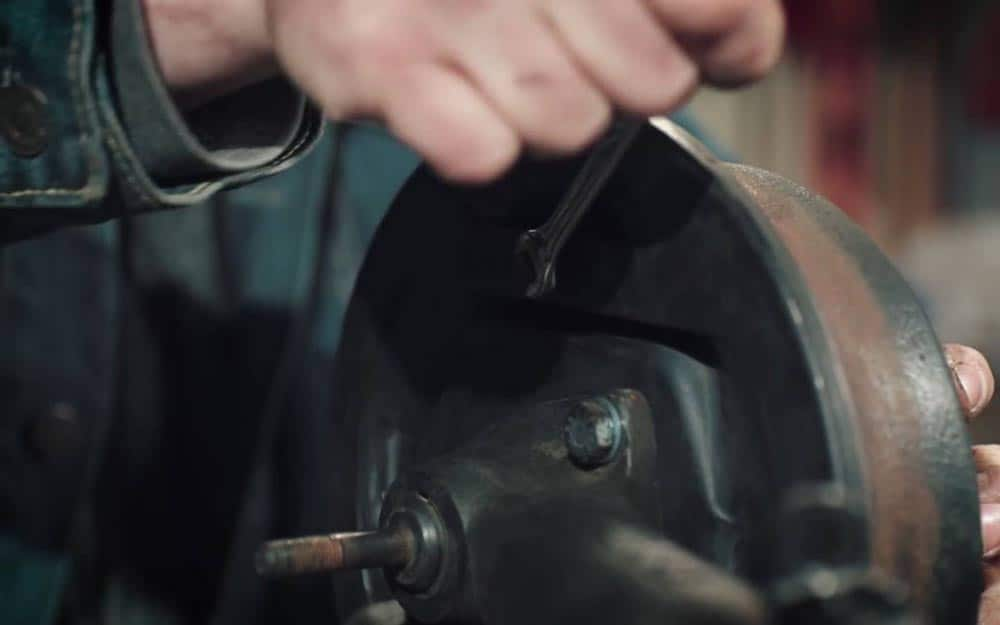
Mini owners, we didn't forget you. Brake adjustment on the Mini is accomplished with a 5/16 wrench instead of a brake spoon.


